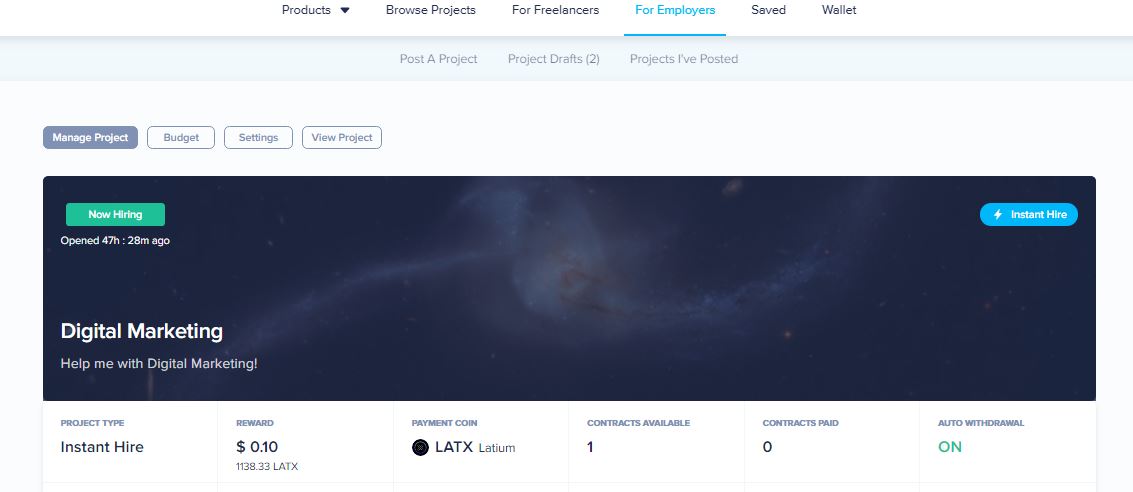
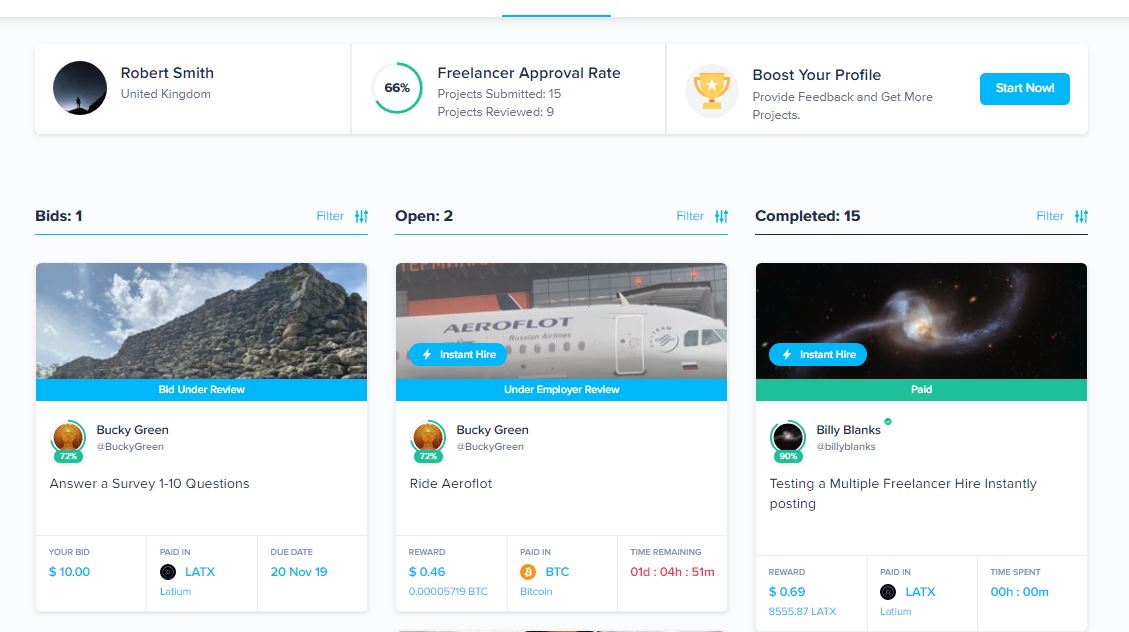
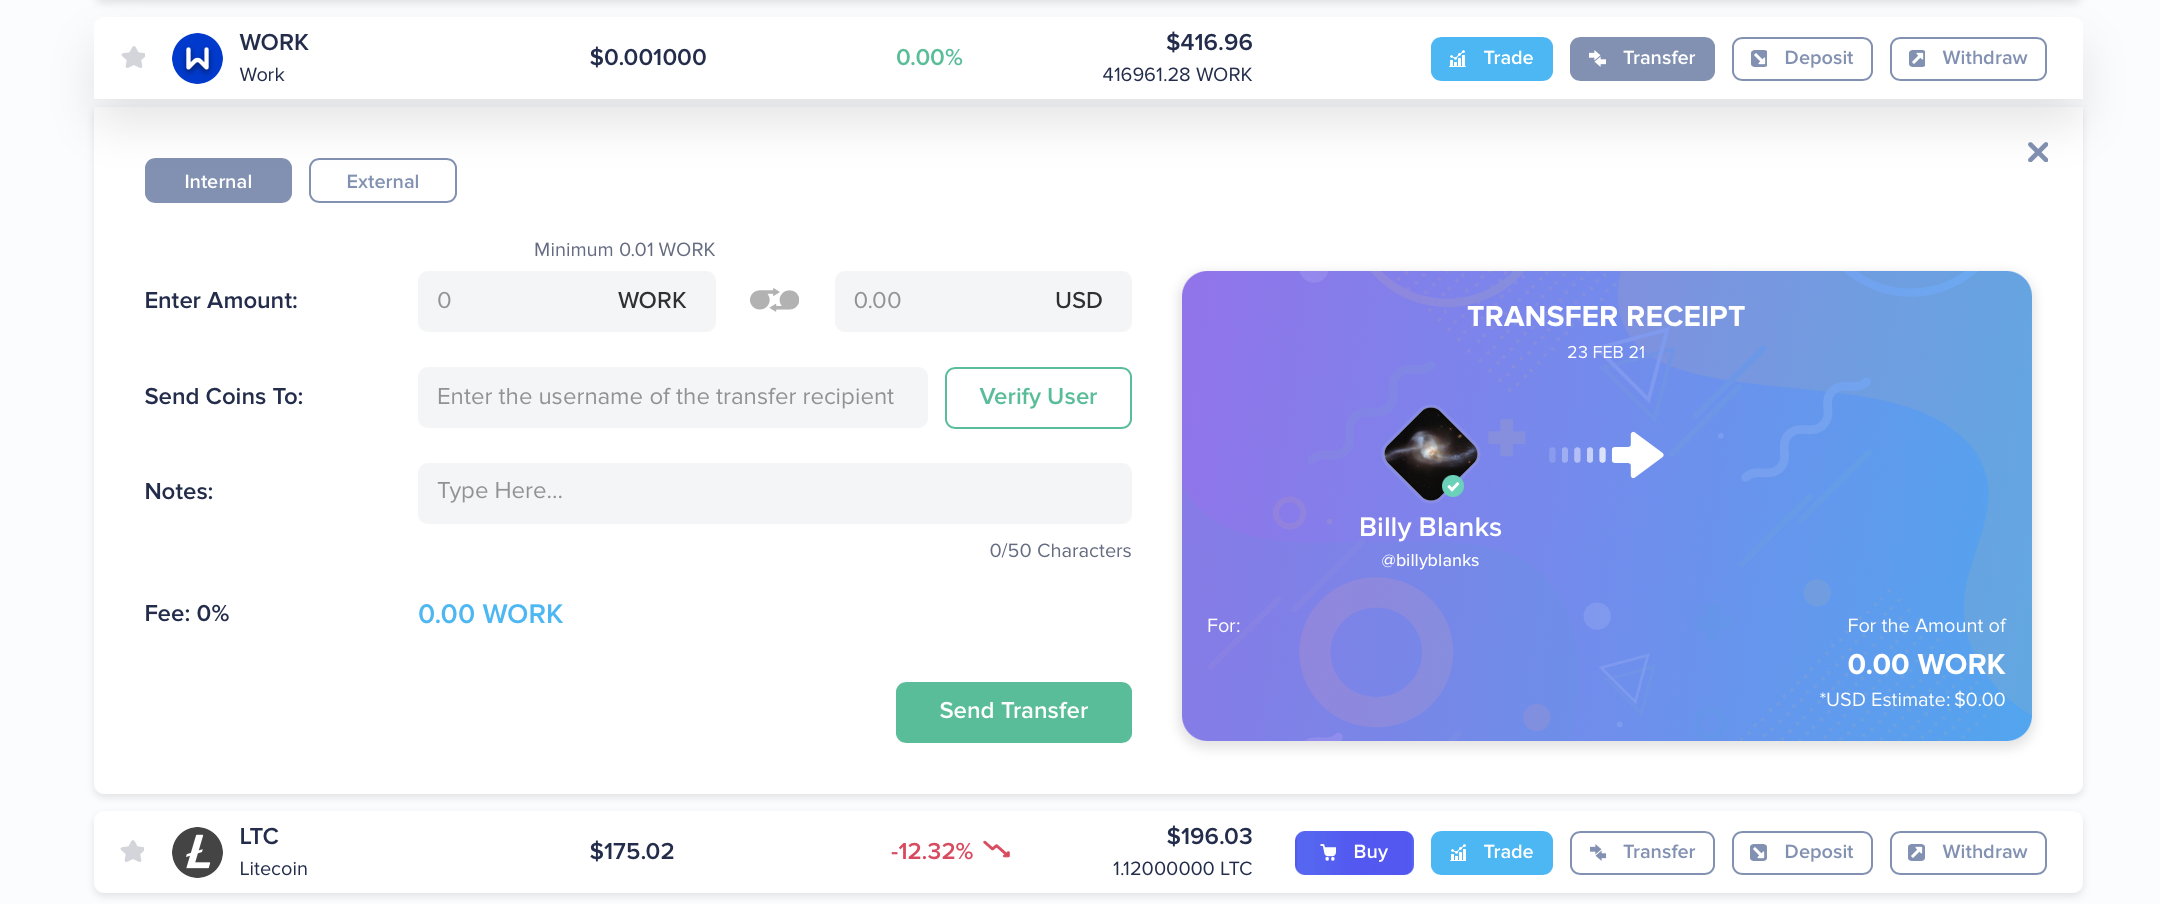
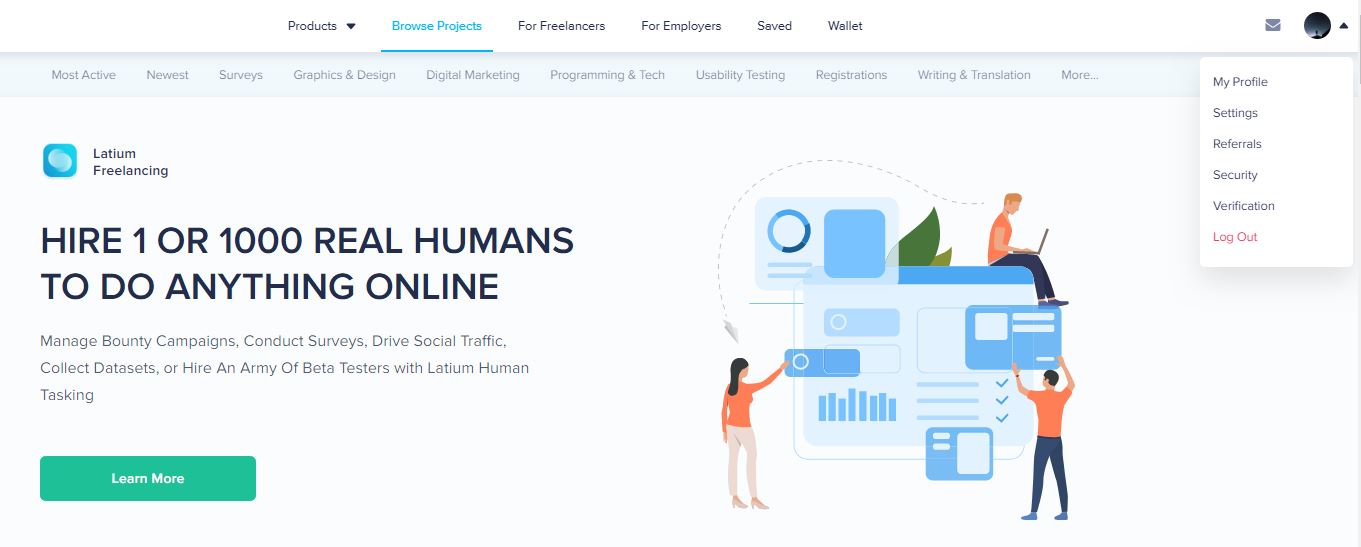
One of the unique features of the Latium Platform is users are able to create projects which allow for Freelancers to begin working immediately, without Employers being burdened with reviewing applications. The Instant Hire projects are vital to the Latium ecosystem. To post an Instant Hire project simply follow the steps below:
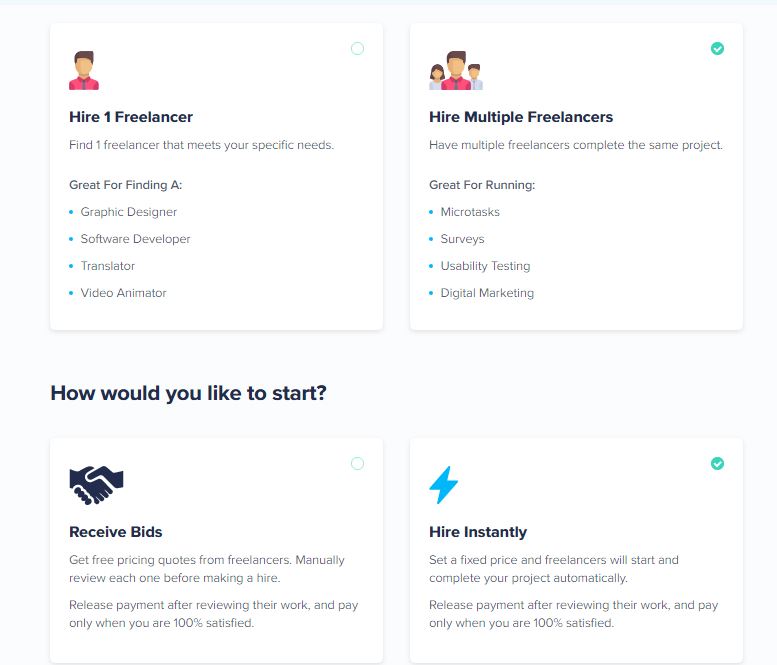
1. Visit the Post a Project section of the For Employers page and select the “Hire Multiple Freelancers” option.
2. Select the Hire Multiple Freelancers option
3. You will then be prompted whether you would like to Receive Bids on the project or Hire Instantly. For the purpose of this article we will be selecting the Hire Instantly option.
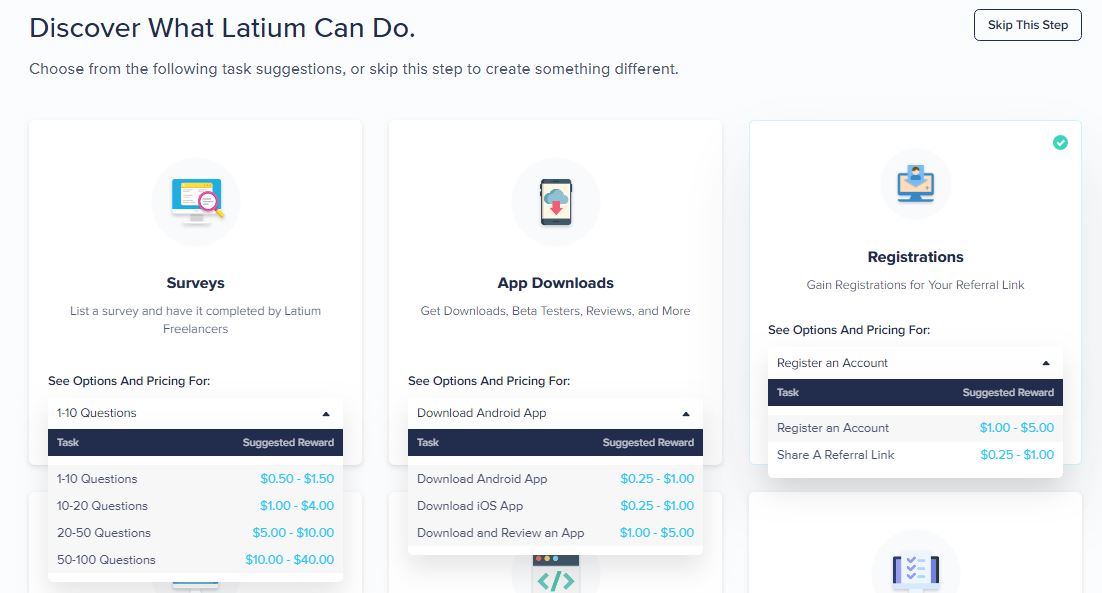
4. Then you will be prompted to select which category your project falls into and what options you would like to provide
Please see the video walk-through below
Create Multiple Freelancer Projects pt 1
The next steps will be to enter in the project details.
1. Create the title, description, and make sure the category is correct
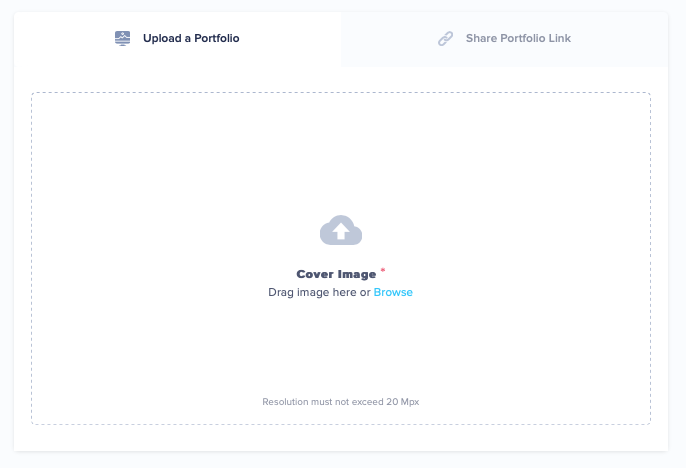
2. Place a Cover Image that will make your post stand out
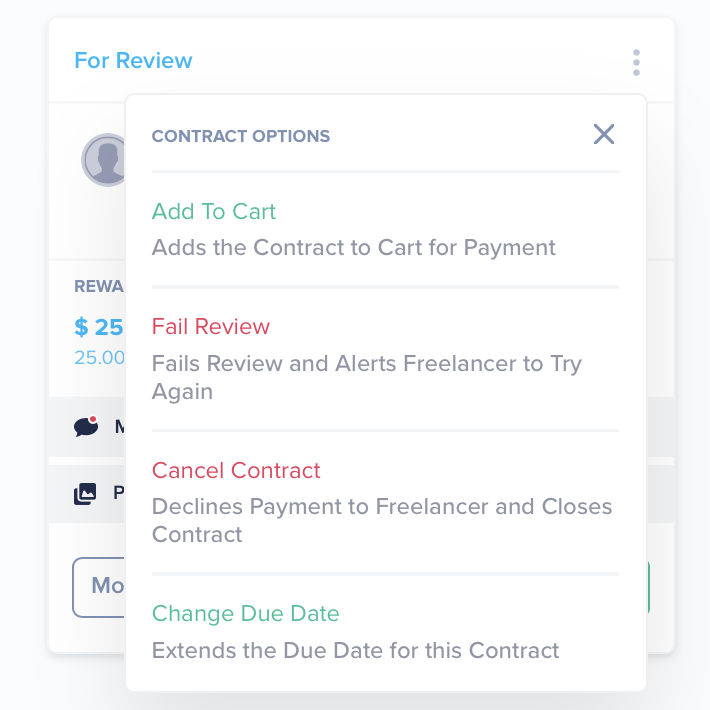
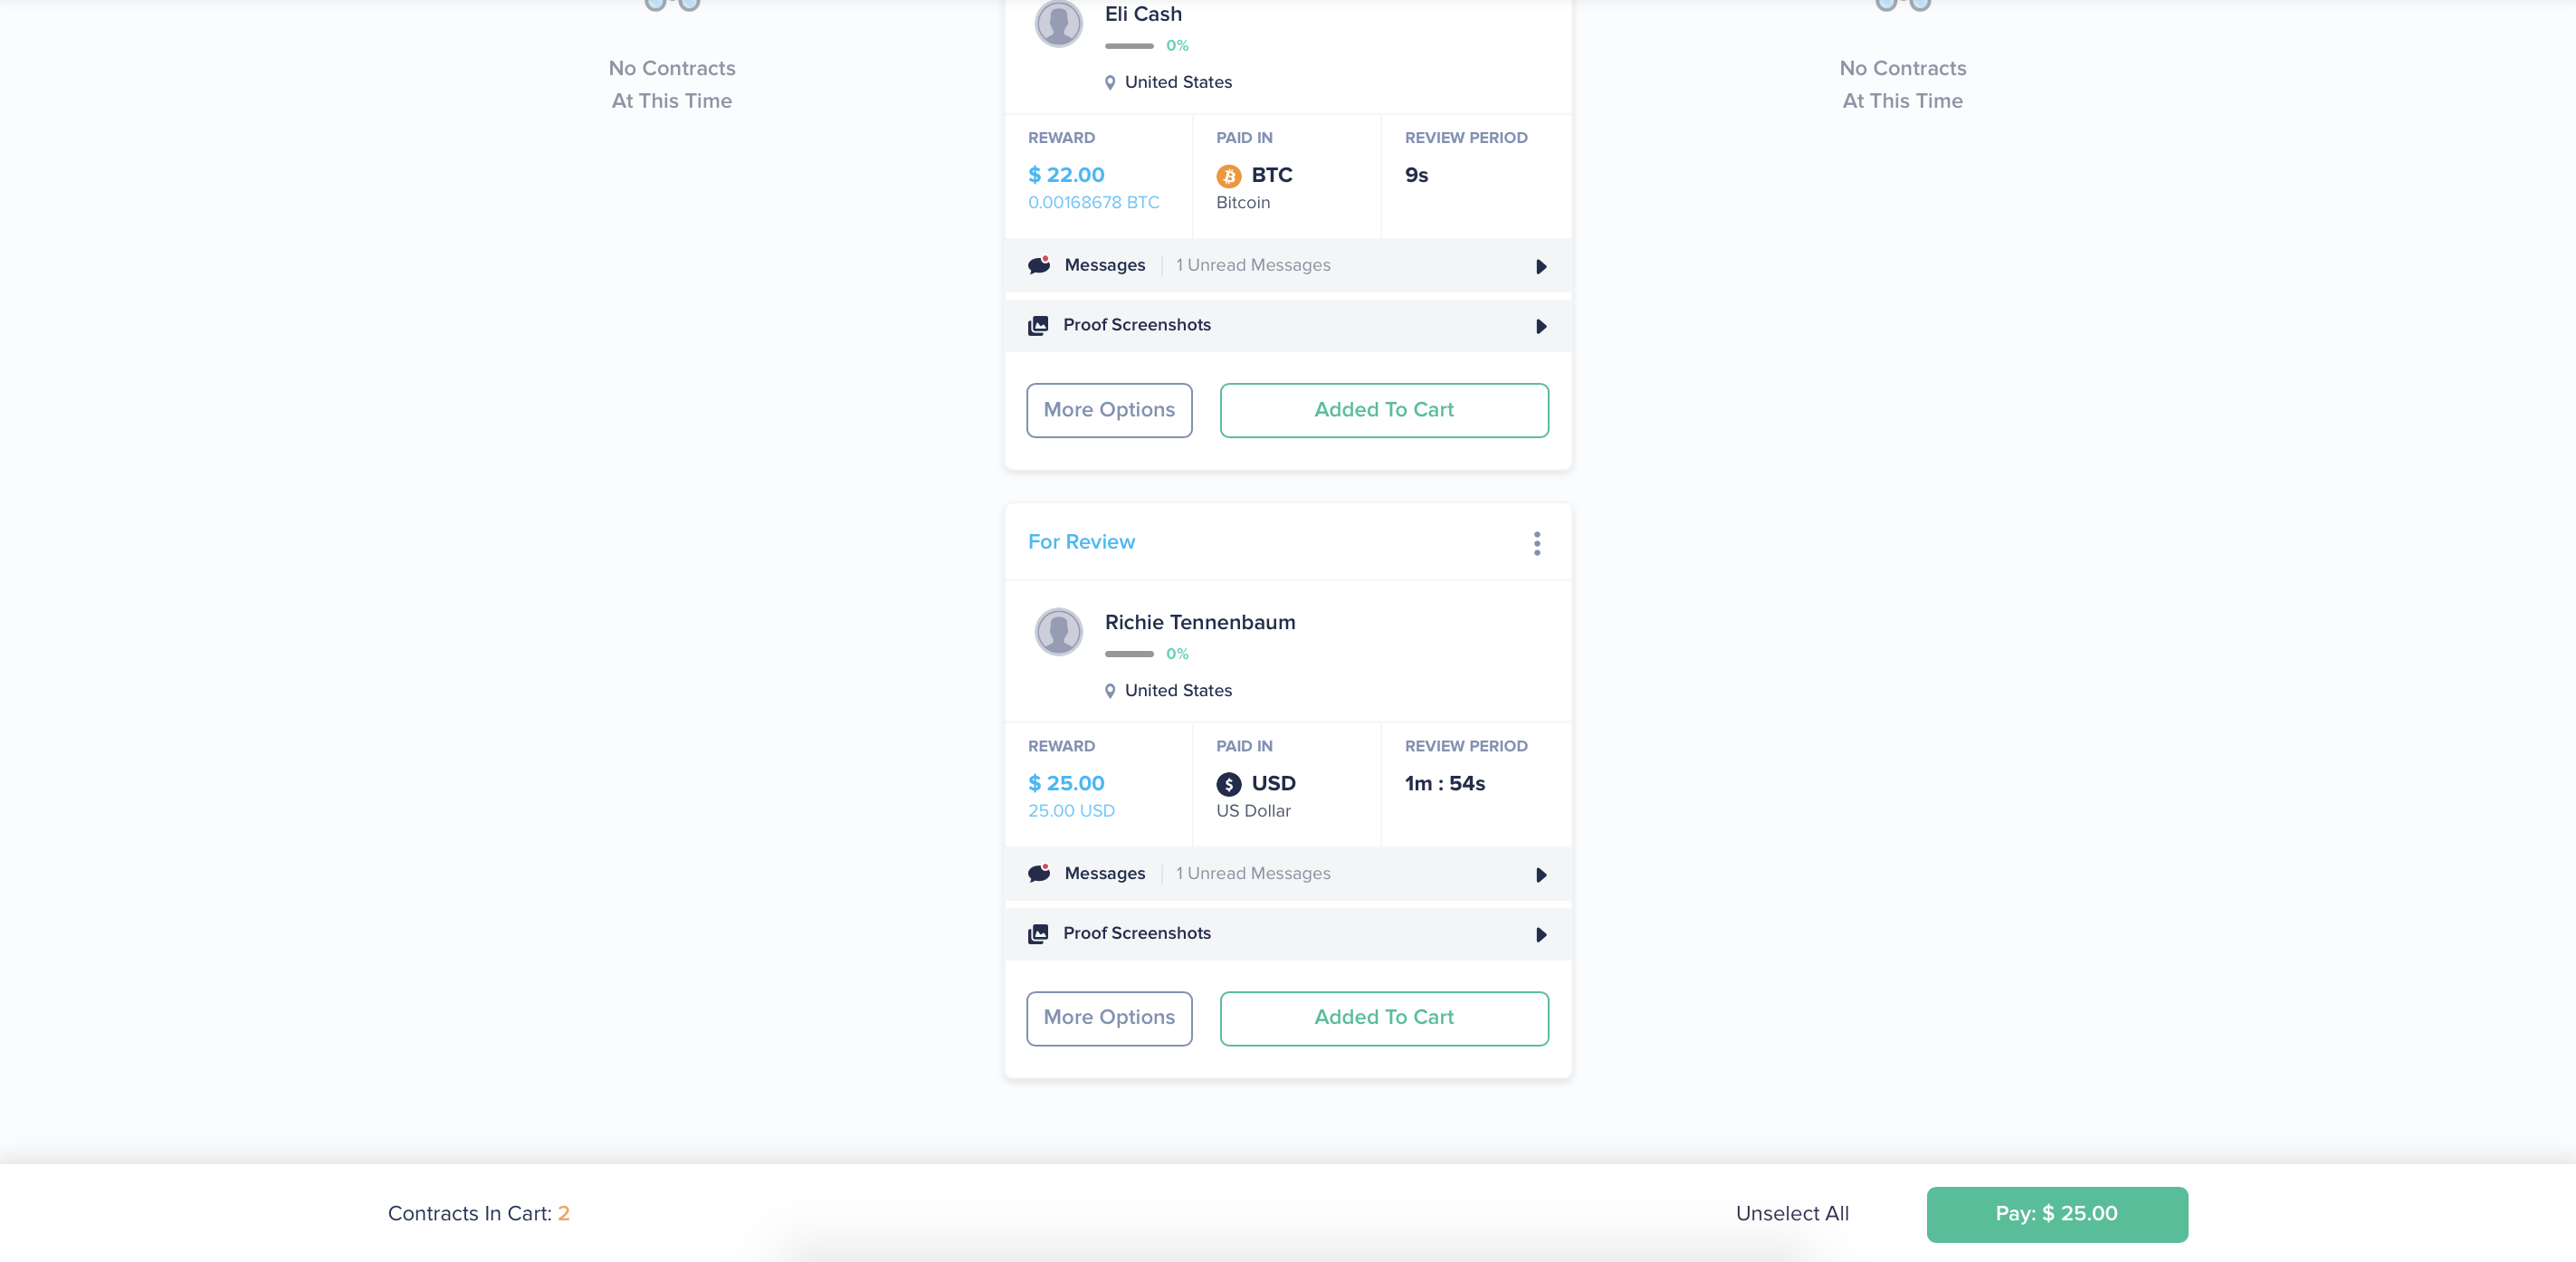
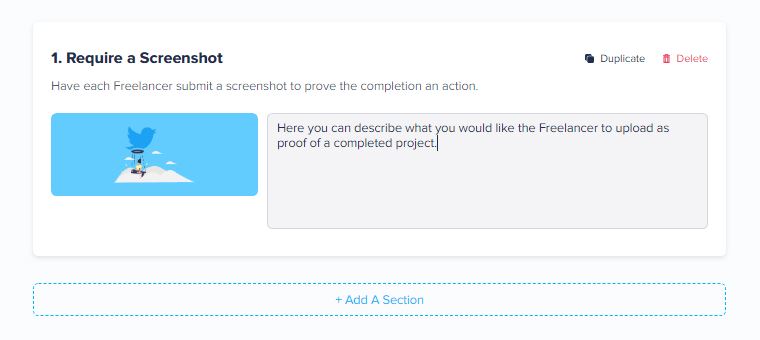
3. Add any sections you think you may need to have you job be easily completed by any freelancers. You can add simple text instructions, Photos, Videos, or require Screenshot Proofs.
Once your are happy with your Project Details, click Next. Please see the video walk-through below
Create Multiple Freelancer Projects pt 2
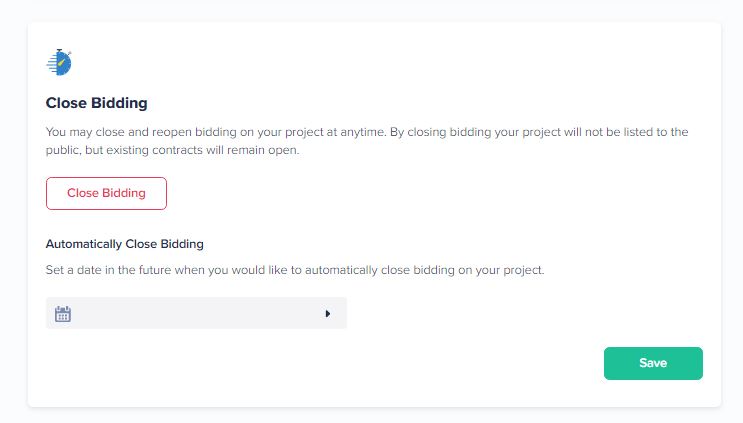
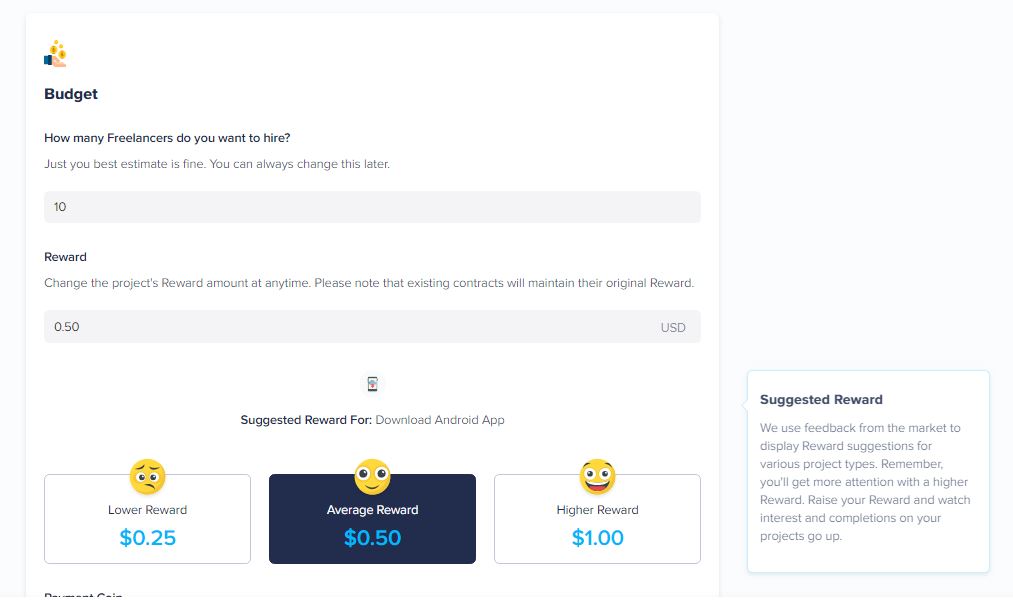
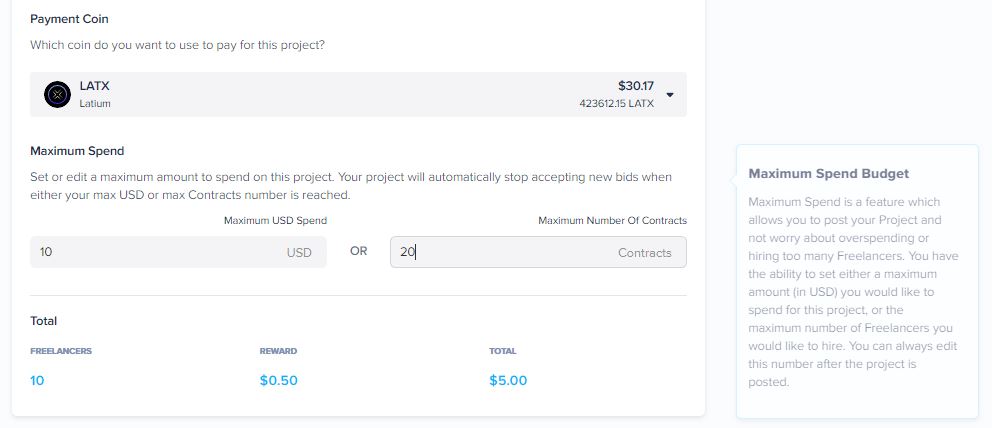
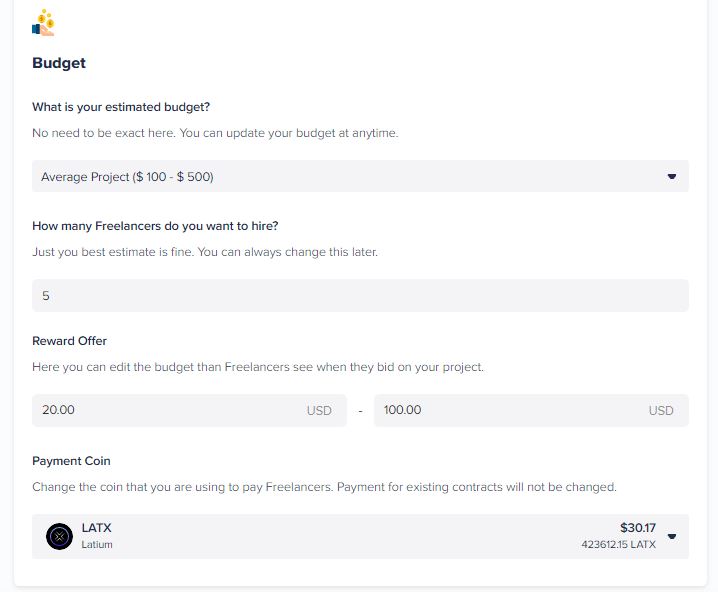
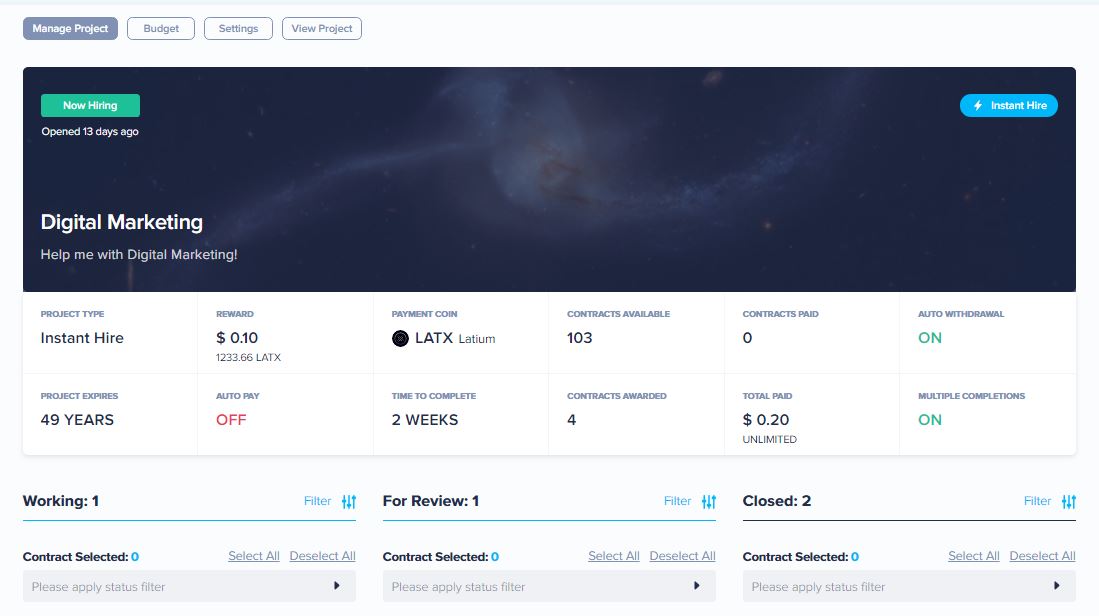
After you enter your Project Details you will then move to your Budget and Settings. All of these settings can be changed at any time
1. Determine the number of Freelancers you wish to hire
2. Determine the Reward you will want to pay each Freelancer who finishes the project
3. Determine the coin or token you wish to use to pay the Freelancer. (We will be using Latium for the purpose of this video)
4. Determine how long you believe it should take a Freelancer to complete the project
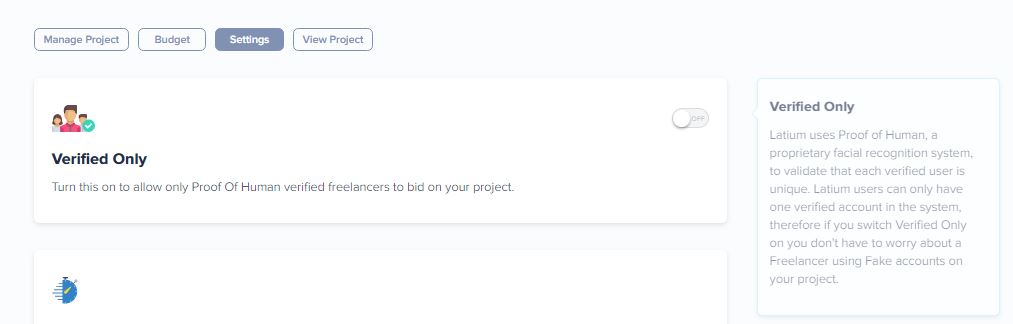
5. Determine if you wish to hire only Proof of Human Verified Freelancers
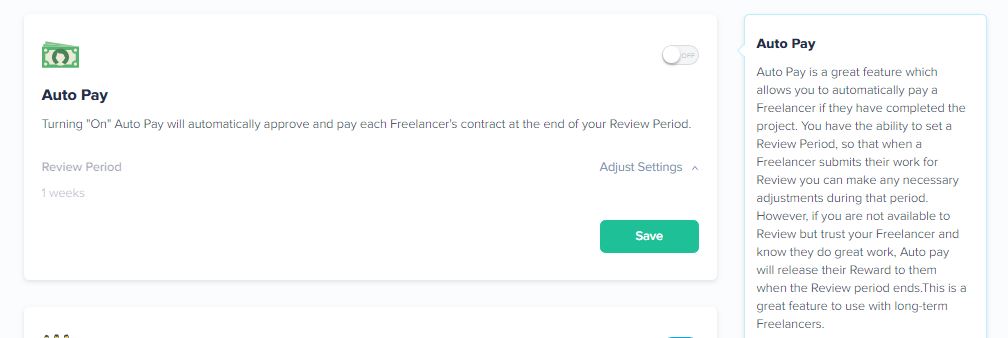
(Advanced Settings are available. Contact Latium Support for questions regarding the advanced settings)
Once you are satisfied with the Budget and Settings select Next
Create Multiple Freelancer Projects pt 3
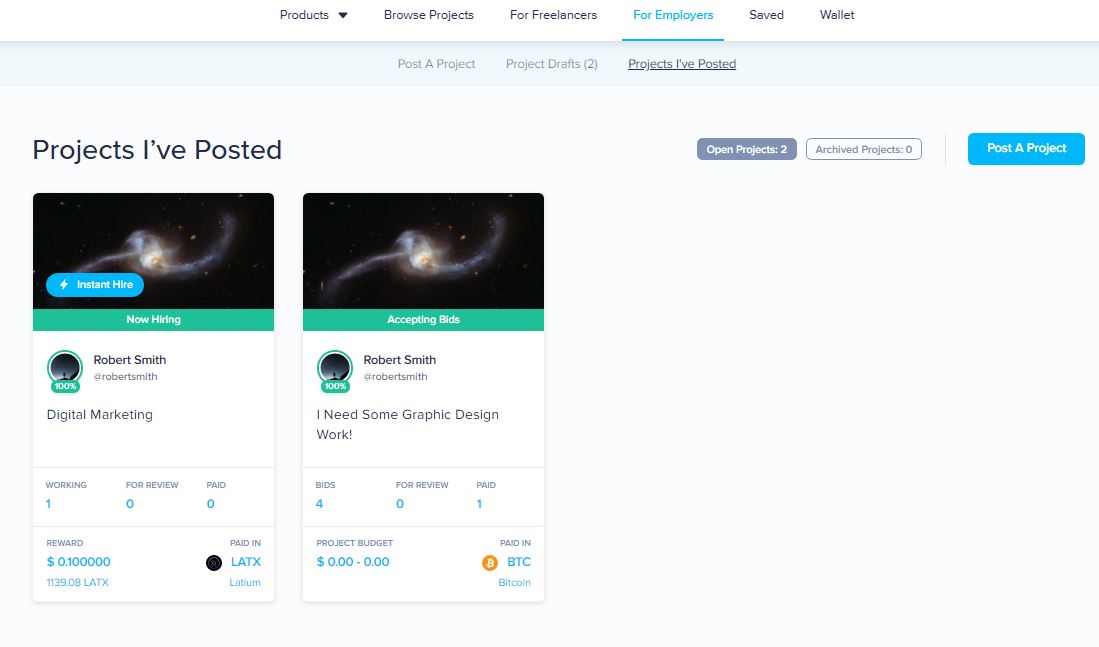
The Final Step is reviewing your project prior to posting it. If you are satisfied, click Post. Your project will process and soon be listed on the Latium platform for Freelancers to begin working on.